一、Vue实例中的数据,事件和方法1 2
一、Vue实例中的数据,事件和方法
 1     <div id="root">
 2         <!--<div v-on:click="handleClick">{{content}}</div>-->
 3         <div v-html="content" v-on:click="handleClick"></div>
 4     </div>
 5     <script type="text/javascript">
 6         new Vue({
 7             el: "#root", //绑定DOM元素
 8             data: {
 9                 content:"hello" //数据源
10             },
11             methods: { //事件
12                 handleClick: function () {
13                     this.content = "world";
14                 }
15             }
16         });
17     </script>
二、绑定事件
 1 <!DOCTYPE html>
 2 <html>
 3 <head>
 4     <meta charset="utf-8" />
 5     <title>绑定事件</title>
 6     <script src="JS/vue.js"></script>
 7 </head>
 8 <body>
 9     <div id="root">
10         <!--<div v-on:click="handleClick">{{content}}</div>-->
11         <!--<div v-html="content" v-on:click="handleClick"></div>-->
12         <div v-html="content" @click="handleClick"></div>
13     </div>
14     <script type="text/javascript">
15         new Vue({
16             el: "#root",
17             data: {
18                 content:"hello"
19             },
20             methods: {
21                 handleClick: function () {
22                     this.content = "world";
23                 }
24             }
25         });
26     </script>
27 </body>
28 </html>
三、Vue中的属性绑定和双向数据绑定
 1 <!DOCTYPE html>
 2 <html>
 3 <head>
 4     <meta charset="utf-8" />
 5     <title>属性绑定和双向数据绑定</title>
 6     <script src="JS/vue.js"></script>
 7 </head>
 8 <body>
 9     <div id="root">
10         <h1>属性绑定</h1>
11         <div v-bind:title="title">Hello world</div>
12         <!--<div :title="title">Hello world</div>-->
13         <h1>双向数据绑定</h1>
14         <!--<input :value="content"/>-->
15         <input v-model="content"/>
16         <div>{{content}}</div>
17     </div>
18     <script type="text/javascript">
19         new Vue({
20             el: "#root",
21             data: {
22                 title: "this is helloworld",
23                 content:"this is content"
24             }
25         })
26     </script>
27 </body>
28 </html>
四、Vue中的计算属性和侦听器
 1 <!DOCTYPE html>
 2 <html>
 3 <head>
 4     <meta charset="utf-8" />
 5     <title>Vue中的计算属性和侦听器</title>
 6     <script src="JS/vue.js"></script>
 7 </head>
 8 <body>
 9     <div id="root">
10         <h1>计算属性</h1>
11         姓:<input v-model="firstName"/>
12         名:<input v-model="lastName"/>
13         <div>{{fullName}}</div>
14         <h1>侦听器</h1>
15         <div>{{count}}</div>
16     </div>
17     <script>
18         new Vue({
19             el: "#root",
20             data: {
21                 firstName: '',
22                 lastName: '',
23                 count:0
24             },
25             computed: {
26                 fullName: function () {
27                     return this.firstName + ' ' + this.lastName;
28                 }
29             },
30             watch: {
31                 fullName: function () {
32                     this.count++;
33                 }
34             }
35         })
36     </script>
37 </body>
38 </html>
五、v-if,v-show与v-for指令
 1 <!DOCTYPE html>
 2 <html>
 3 <head>
 4     <meta charset="utf-8" />
 5     <title>v-if,v-show,v-for 指令</title>
 6     <script src="JS/vue.js"></script>
 7 </head>
 8 <body>
 9     <div id="root">
10         <h1>v-if</h1>
11         <!--<div v-if="show">Hello World!</div>-->
12         <div v-show="show">Hello World!</div>
13         <button @click="handleClick">toggle</button>
14         <h1>v-for</h1>
15         <ul>
16             <!--<li v-for="item of list" :key="item">{{item}}</li>-->
17             <li v-for="(item,index) of list" :key="index">{{item}}</li>
18         </ul>
19     </div>
20     <script>
21         new Vue({
22             el: "#root",
23             data: {
24                 show: true,
25                 list:[1,2,3,1]
26             },
27             methods: {
28                 handleClick: function () {
29                     this.show = !this.show;
30                 }
31             }
32         })
33     </script>
34 </body>
35 </html>
六、ToDoList练习
 1 <!DOCTYPE html>
 2 <html>
 3 <head>
 4     <meta charset="utf-8" />
 5     <title>TodoList</title>
 6     <script src="JS/vue.js"></script>
 7 </head>
 8 <body>
 9     <div id="root">
10         <div>
11             <input v-model="inputValue"/>
12             <button @click="handleSubmit">提交</button>
13         </div>
14         <ul>
15             <li v-for="(item,index) of list" :key="index">{{item}}</li>
16         </ul>
17     </div>
18     <script>
19         new Vue({
20             el: "#root",
21             data: {
22                 inputValue: '',
23                 list:[]
24             },
25             methods: {
26                 handleSubmit: function () {
27                     this.list.push(this.inputValue);
28                     this.inputValue=''
29                 }
30             }
31         })
32     </script>
33 </body>
34 </html>
七、ToDoList组件拆分
 1 <!DOCTYPE html>
 2 <html>
 3 <head>
 4     <meta charset="utf-8" />
 5     <title>TodoList组件拆分</title>
 6     <script src="JS/vue.js"></script>
 7 </head>
 8 <body>
 9     <div id="root">
10         <div>
11             <input v-model="inputValue"/>
12             <button @click="handleSubmit">提交</button>
13         </div>
14         <todo-item v-for="(item,index) of list" :key="index" :content="item"></todo-item>
15     </div>
16     <script>
17         //全局组件
18         //Vue.component('todo-item', {
19         //    template:'<li>item</li>'
20         //});
21
22         //局部组件
23         var ToDoItem = {
24             props:['content'], //接收传递参数
25             template: '<li>{{content}}</li>'
26         };
27
28         new Vue({
29             el: "#root",
30             components: { //局部组件声明
31                 'todo-item':ToDoItem
32             },
33             data: {
34                 inputValue: '',
35                 list:[]
36             },
37             methods: {
38                 handleSubmit: function () {
39                     this.list.push(this.inputValue);
40                     this.inputValue=''
41                 }
42             }
43         })
44     </script>
45 </body>
46 </html>
八、组件与实例的关系
 1 <!DOCTYPE html>
 2 <html>
 3 <head>
 4     <meta charset="utf-8" />
 5     <title>TodoList组件拆分</title>
 6     <script src="JS/vue.js"></script>
 7 </head>
 8 <body>
 9     <div id="root">
10         <div>
11             <input v-model="inputValue"/>
12             <button @click="handleSubmit">提交</button>
13         </div>
14         <todo-item v-for="(item,index) of list" :key="index" :content="item"></todo-item>
15     </div>
16     <script>
17         //全局组件
18         //Vue.component('todo-item', {
19         //    template:'<li>item</li>'
20         //});
21
22         //局部组件
23         var ToDoItem = {
24             props:['content'], //接收传递参数
25             template: '<li @click="handleClick">{{content}}</li>',
26             methods: {
27                 handleClick: function () {
28                     alert(this.content)
29                 }
30             }
31         };
32
33         new Vue({
34             el: "#root",
35             components: { //局部组件声明
36                 'todo-item':ToDoItem
37             },
38             data: {
39                 inputValue: '',
40                 list:[]
41             },
42             methods: {
43                 handleSubmit: function () {
44                     this.list.push(this.inputValue);
45                     this.inputValue=''
46                 }
47             }
48         })
49     </script>
50 </body>
51 </html>
九、ToDoList的删除
 1 <!DOCTYPE html>
 2 <html>
 3 <head>
 4     <meta charset="utf-8" />
 5     <title>TodoList组件拆分</title>
 6     <script src="JS/vue.js"></script>
 7 </head>
 8 <body>
 9     <div id="root">
10         <div>
11             <input v-model="inputValue"/>
12             <button @click="handleSubmit">提交</button>
13         </div>
14         <todo-item v-for="(item,index) of list" :key="index" :content="item" :index="index" @delete="handleDelete"></todo-item>
15     </div>
16     <script>
17         //全局组件
18         //Vue.component('todo-item', {
19         //    template:'<li>item</li>'
20         //});
21
22         //局部组件
23         var ToDoItem = {
24             props:['content','index'], //接收传递参数
25             template: '<li @click="handleClick">{{content}}</li>',
26             methods: {
27                 handleClick: function () {
28                     this.$emit('delete', this.index); //触发事件
29                 }
30             }
31         };
32
33         new Vue({
34             el: "#root",
35             components: { //局部组件声明
36                 'todo-item':ToDoItem
37             },
38             data: {
39                 inputValue: '',
40                 list:[]
41             },
42             methods: {
43                 handleSubmit: function () {
44                     this.list.push(this.inputValue);
45                     this.inputValue=''
46                 },
47                 handleDelete: function (index) {
48                     this.list.splice(index, 1);
49                 }
50             }
51         })
52     </script>
53 </body>
54 </html>
十、Vue-cli安装和项目搭建
第一步:下载并安装Node.js
下载地址:https://nodejs.org/en/download/
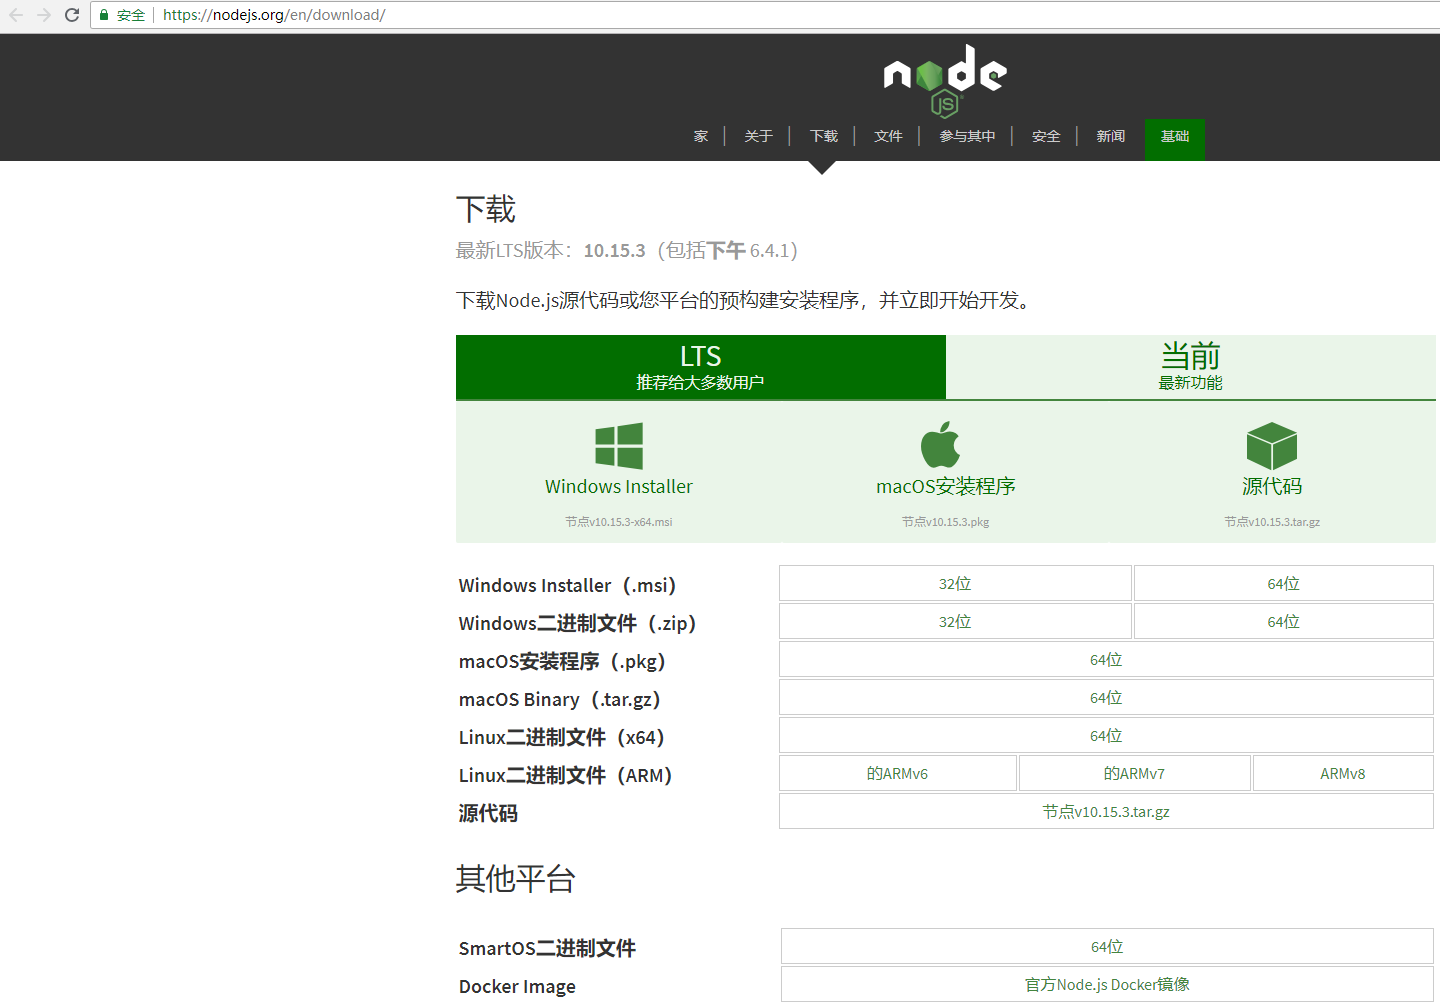
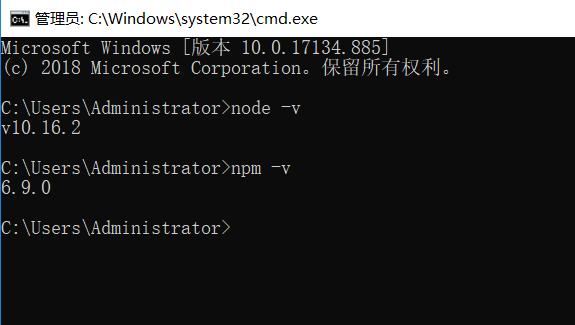
第二步:在cmd中查看node.js是否安装成功,以及是否安装npm
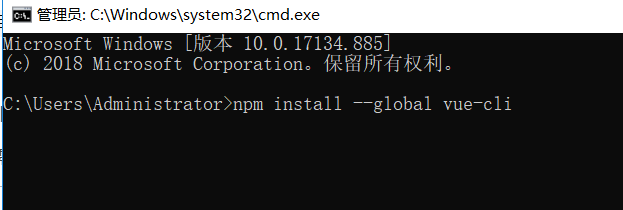
第三步:安装vue的脚手架工具(vue项目前期项目目录结构的工具)
1 cmd的命令行下:npm install --global vue-cli //注:管理员用户执行
2 查看安装目录 C:\Users\Administrator\AppData\Roaming\npm
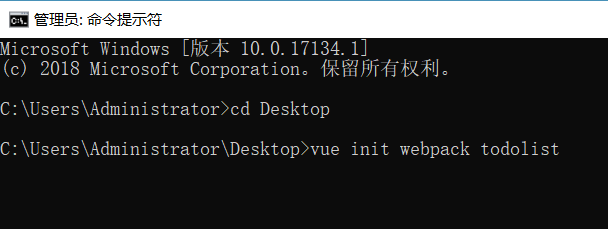
第四步:创建webpack一个vue项目
1 第一步:cd切换到指定目录下
2
3 第二步:vue init webpack todolist
4 格式:vue init webpack 项目名
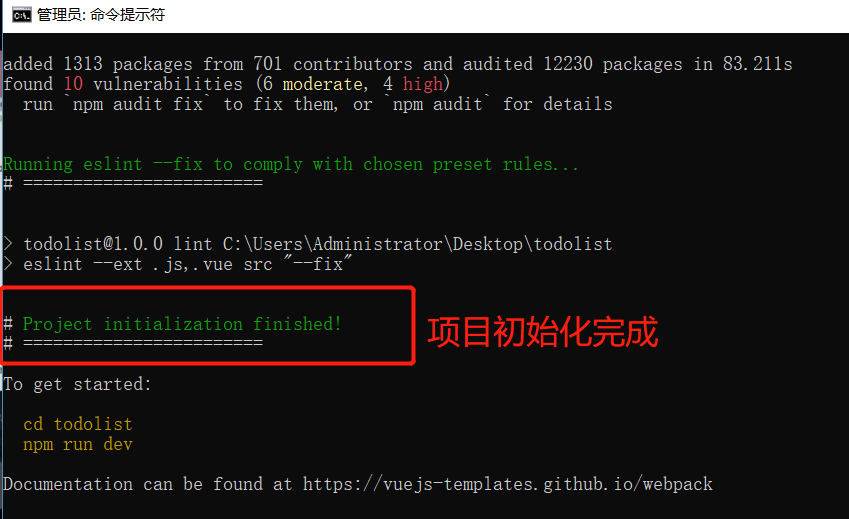
安装过程
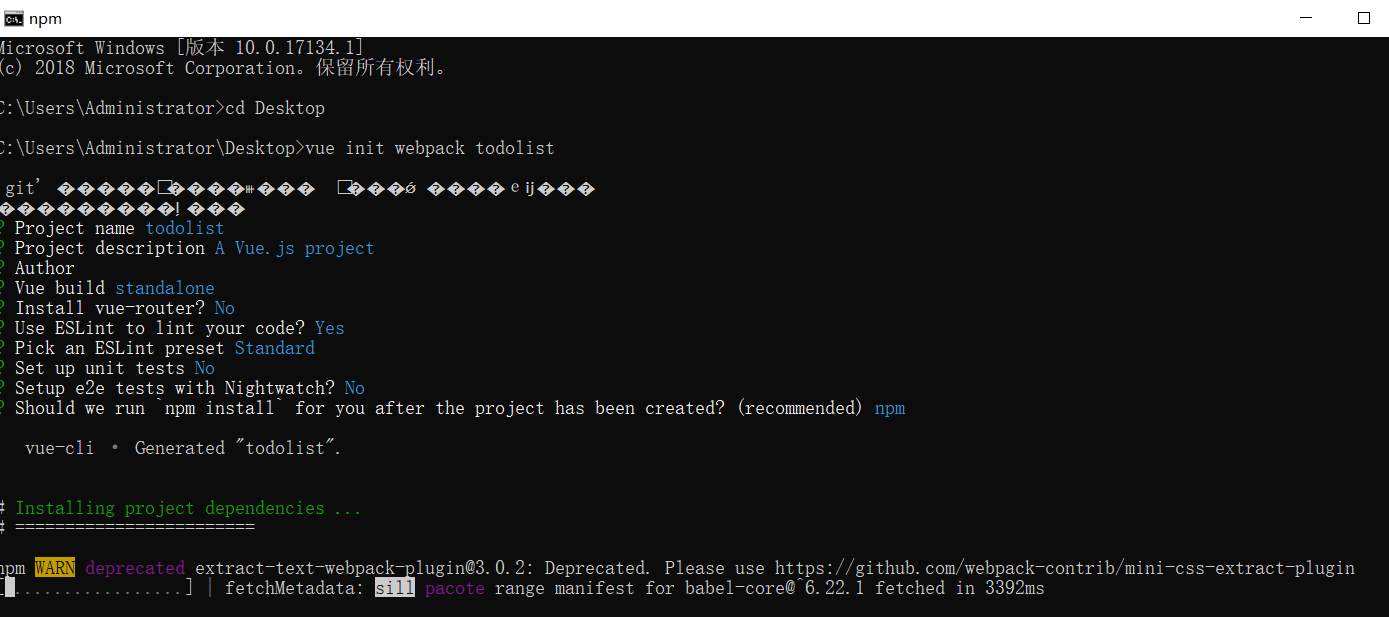
安装完成
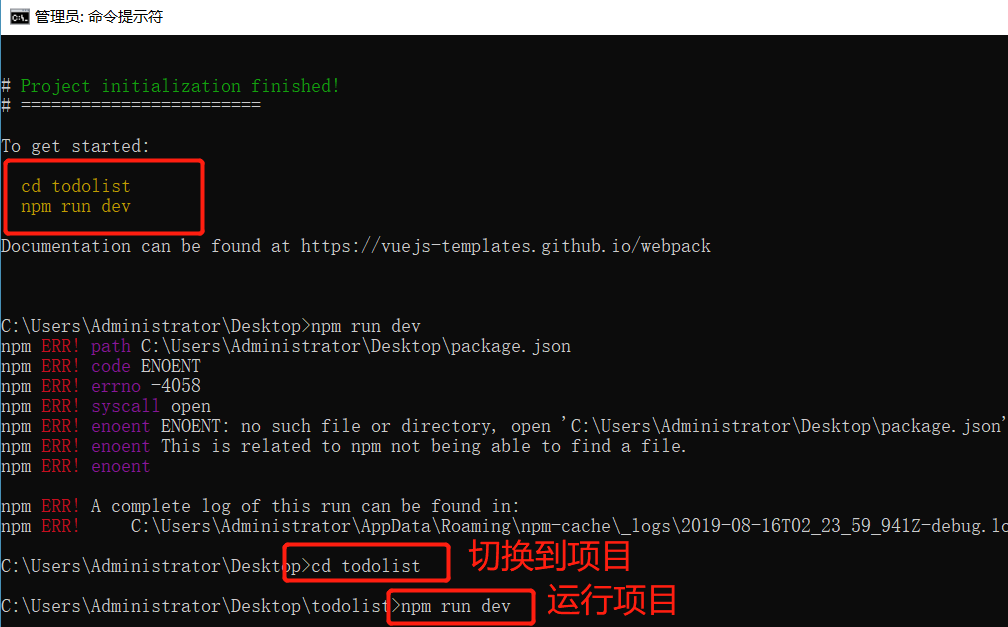
运行项目

链接:https://pan.baidu.com/s/196TkuZiQ-dbd_tXSL1efRA
提取码:2ulq

