每件事情都必须有一个期限,否则,大多数人都会有多少时间就花掉多少时间。积极的人在每一次忧患中都看到一个机会,而消极的人则在每个机会都看到某种忧患。
本文实例为大家分享了Vue.js实现图片切换功能的具体代码,供大家参考,具体内容如下
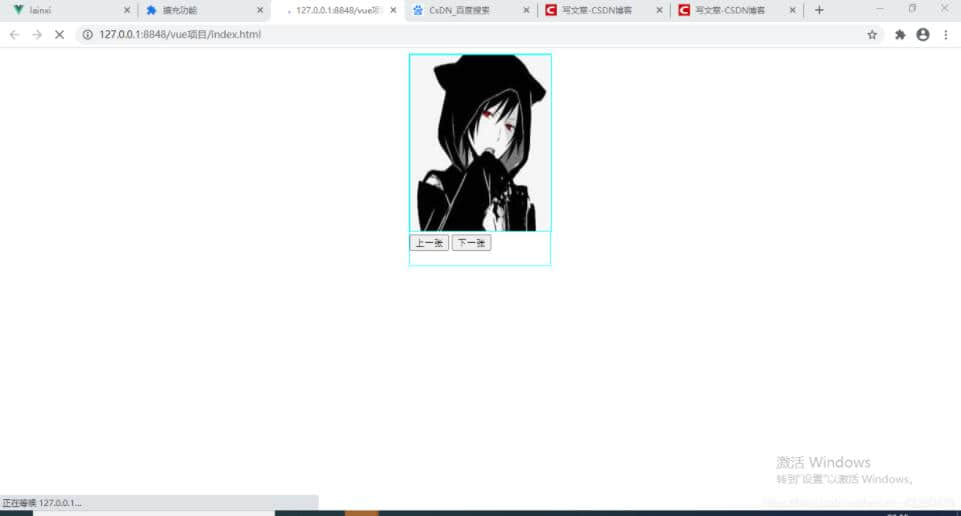
实现功能如下
文件目录如下,要实现本功能只需要修改图片的存储位置即可
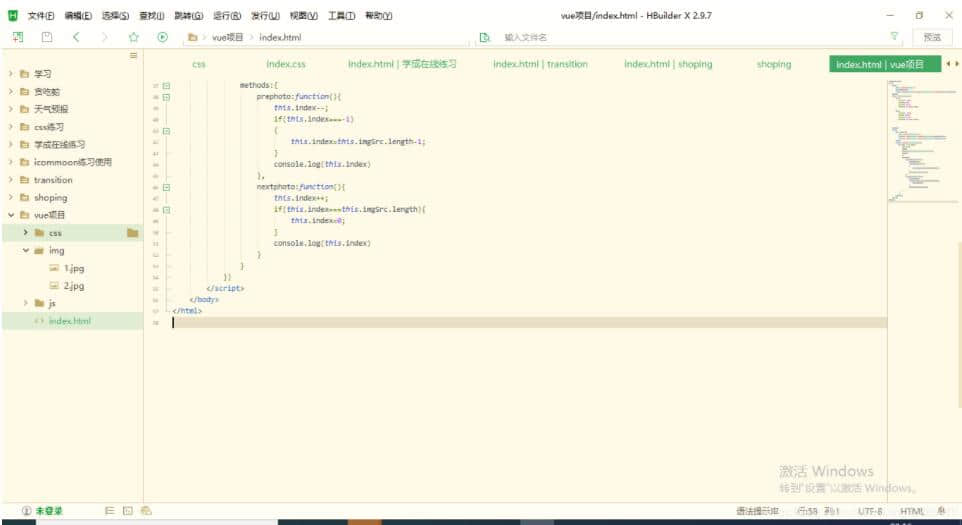
代码如下
<!DOCTYPE html>
<html>
 <head>
  <meta charset="utf-8" />
  <title></title>
  <script src="js/vue.js" type="text/javascript" charset="utf-8"></script>
 </head>
 <style type="text/css">
  div {
   margin: 0 auto;
   width:200px;
   height: 300px;
   border: 1px solid aqua;
  }
  img {
   margin: 0 auto;
   width: 200px;
   height: 250px;
   border: 1px solid aqua;
  }


 </style>
 <body>
  <div id="app">
   <img :src="imgSrc[index]" >
   <button type="button" @click="prephoto()">上一张</button>
   <button type="button" @click="nextphoto()">下一张</button>
  </div>
  <script type="text/javascript">
   var app  = new Vue({
    el:"#app",
    data:{
             imgSrc:["./img/1.jpg","./img/2.jpg"],
    index:1
    },
    methods:{
     prephoto:function(){
      this.index--;
      if(this.index===-1)
      {
       this.index=this.imgSrc.length-1;
      }
      console.log(this.index)
     },
     nextphoto:function(){
      this.index++;
      if(this.index===this.imgSrc.length){
       this.index=0;
      }
      console.log(this.index)
     }
    }
   })
  </script>
 </body>
</html>
适合初学者。
以上就是Vue.javascript如何实现图片切换功能。如果不坚强,懦弱给谁看?更多关于Vue.javascript如何实现图片切换功能请关注haodaima.com其它相关文章!

