一、react-redux
react-redux依赖于redux工作。 运行安装命令:npm i react-redux:

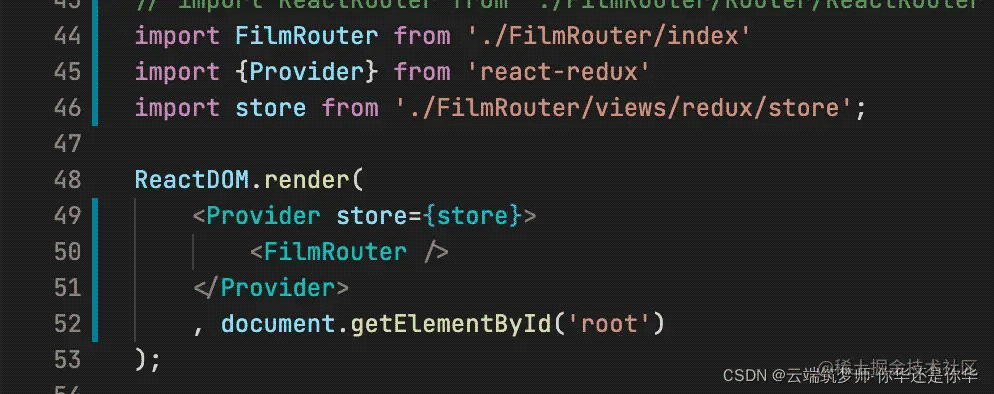
使用: 将Provider套在入口组件处,并且将自己的store传进去:
import FilmRouter from './FilmRouter/index'
import {Provider} from 'react-redux'
import store from './FilmRouter/views/redux/store';
ReactDOM.render(
    <Provider store={store}>
        <FilmRouter />
    </Provider>
    , document.getElementById('root')
);
然后在子组件导出的时候套一层connet组件,并且把父组件需要传入的值传入:
import React, { Component } from 'react'
import FRouter from './Router/ReactRouter'
import Tabbar from './components/Tabbar'
import { connect } from 'react-redux'
// import store from './views/redux/store'
// let unSubscribe
class Index extends Component {
  state = {
    // list: store.getState().TabbarReducer.list
  }
  // store.subscribe 订阅
  componentDidMount() {
    console.log(this.props)
    // store.subscribe(() => {
    //   console.log('订阅', store.getState())
    //   this.setState({
    //     isShow: store.getState().TabbarReducer.flag
    //   })
    // })
    // unSubscribe = store.subscribe(() => {
    //   this.setState({
    //     list: store.getState().TabbarReducer.list
    //   })
    // })
  }
  // componentWillUnmount() {
  //   unSubscribe()
  // }
  render() {
    return (
        <div>
            <FRouter>
                {this.props.isShow && <Tabbar></Tabbar>}
            </FRouter>
        </div>
    )
  }
}
const mapStateToProps = (state) => {
  return {
    a: 1,
    b: 2,
    isShow: state.TabbarReducer.flag
  }
}
export default connect(mapStateToProps)(Index)

可以看到我们包了一层connect后把我们的reducer给传入进去,那在子组件中就可以直接使用this.props来获取这个值来决定是否渲染了:

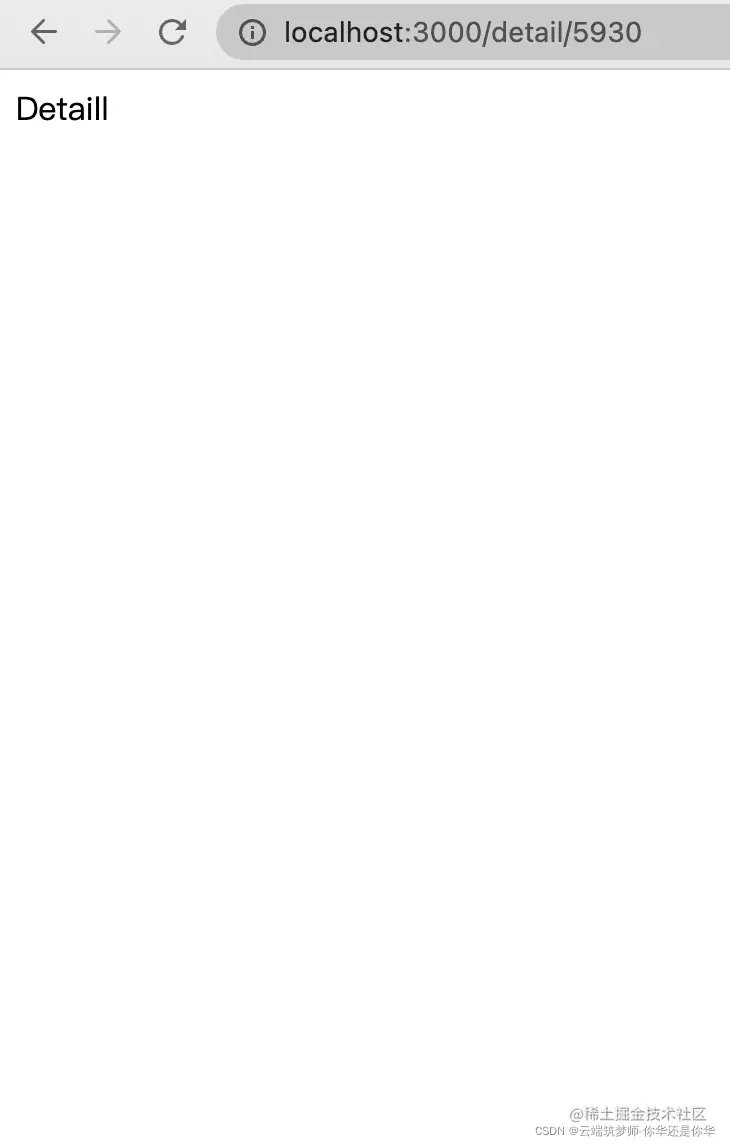
可以看到效果还是跟之前一样,只不过采用了react-redux,那么我们在Detaile组件中就不用自己去分发dispatch事件了,将Details组件修改为:
import React, {useEffect} from 'react'
import { hide, show } from './redux/actionCreator/TabbarActionCreator'
// import store from './redux/store'
import {connect} from 'react-redux'
function Detaill(props) {
  console.log(props.match.params.filmId) // 第一种方式路由获取参数
//   console.log(props.location.query.filmId) // 第二种方式路由获取参数
//   console.log(props.location.state.filmId) // 第三种方式路由获取参数
  let {show, hide} = props
  useEffect(() => {
    console.log('创建')
    // store.dispatch(hide())
    hide()
    return () => {
      console.log('销毁')
      // store.dispatch(show())
    show()
    }
  },[show,hide])
  return (
    <div>Detaill</div>
  )
}
const mapDispatchToProps = {
  show,
  hide
}
// connect接收两个参数,第一个是属性,第二个是回调函数
export default connect(null, mapDispatchToProps)(Detaill);
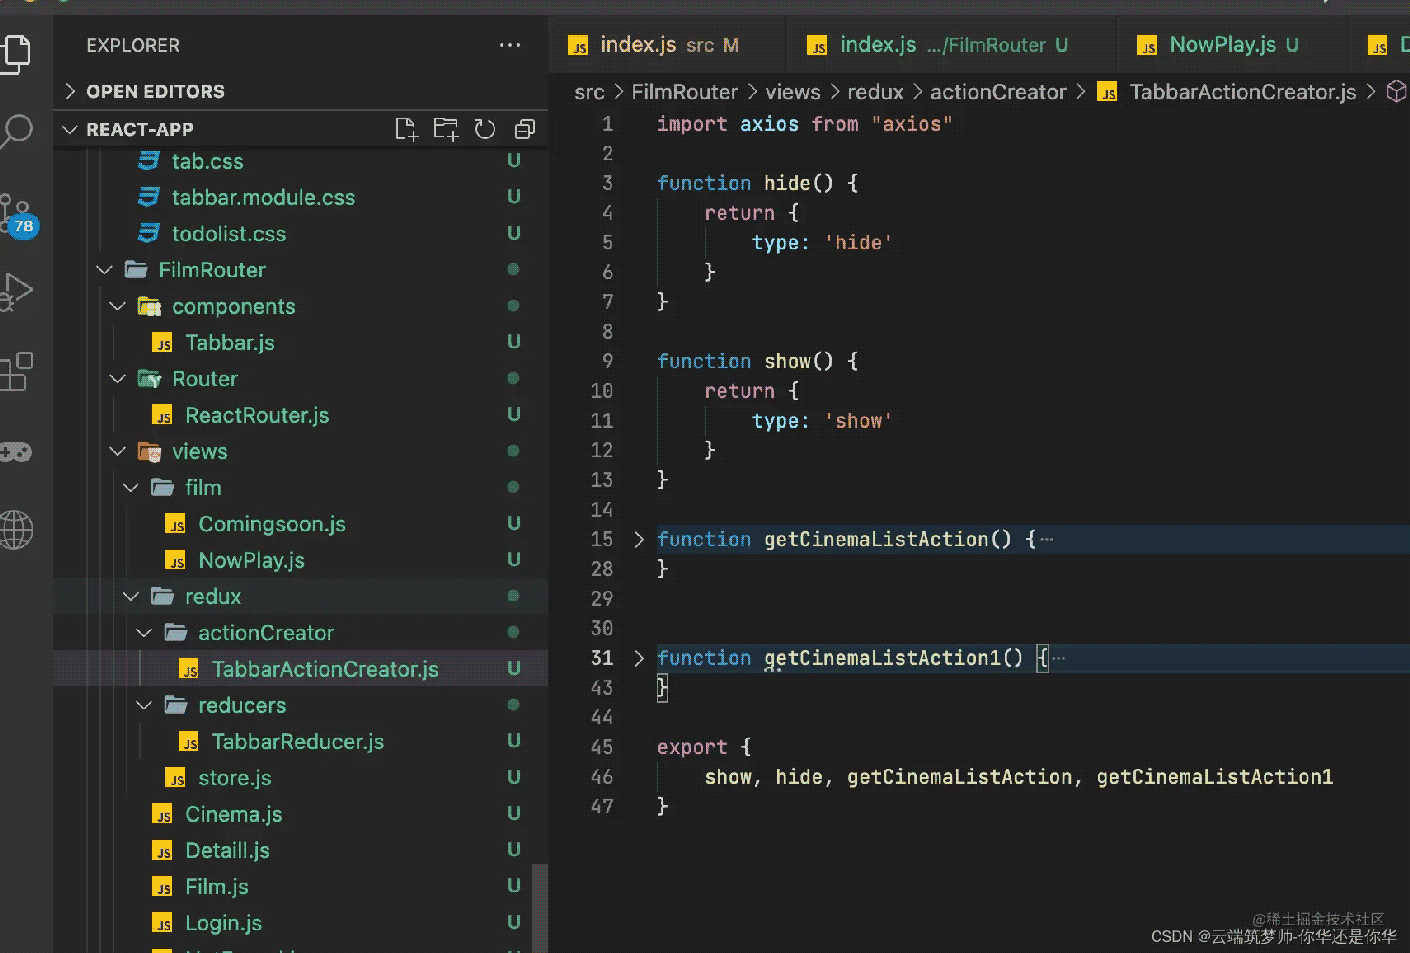
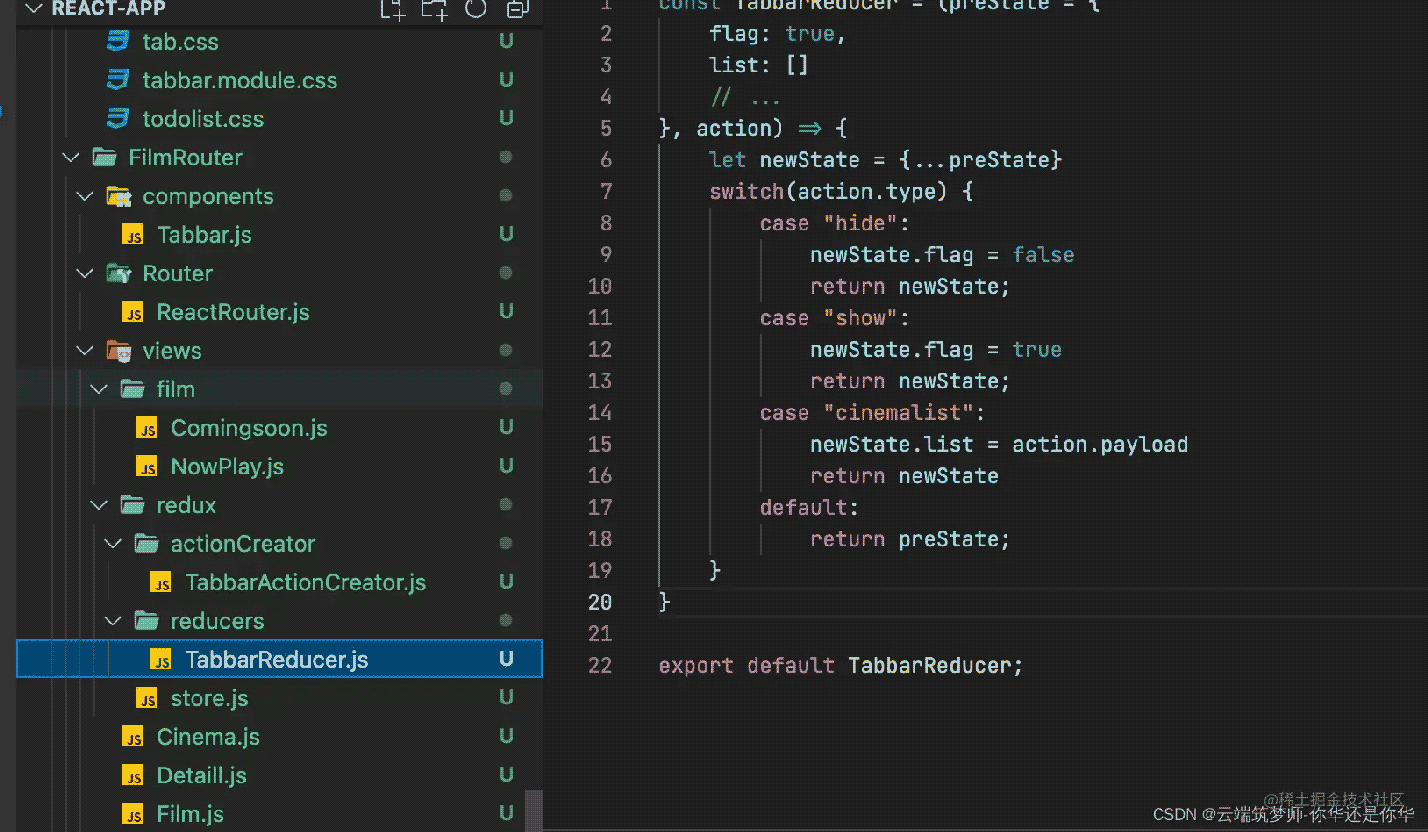
可以看到这里都不需要我们去dispatch分发了,直接使用connect传入到之前TabbarReducer写好的类型以在子组件中以函数的形式去调用:
二、redux持久化
npm i redux-persist

修改store.js代码:
import { applyMiddleware, combineReducers, createStore, compose } from "redux";
import TabbarReducer from "./reducers/TabbarReducer";
import reduxThunk from "redux-thunk"
import reduxPromise from "redux-promise"
import { persistStore, persistReducer } from 'redux-persist'
import storage from 'redux-persist/lib/storage' // defaults to localStorage for web
const persistConfig = {
    key: 'TabbarReducer',
    storage,
    // blacklist: ['TabbarReducer'] // navigation will not be persisted  黑名单
    whitelist: ['TabbarReducer'] // only navigation will be persisted  白名单
  }
const reducer = combineReducers({
    TabbarReducer
})
const persistedReducer = persistReducer(persistConfig, reducer)
const composeEnhancers = window.__REDUX_DEVTOOLS_EXTENSION_COMPOSE__ || compose;
const store = createStore(persistedReducer, /* preloadedState, */ composeEnhancers(
    applyMiddleware(reduxThunk, reduxPromise)
));
let persistor = persistStore(store)
export {store, persistor};
然后在根组件中修改:
import FilmRouter from './FilmRouter/index'
import {Provider} from 'react-redux'
import {store, persistor} from './FilmRouter/views/redux/store';
import { PersistGate } from 'redux-persist/integration/react';
ReactDOM.render(
    <Provider store={store}>
        <PersistGate loading={null} persistor={persistor}>
            <FilmRouter />
        </PersistGate>
    </Provider>
    , document.getElementById('root')
);
效果:

以上就是react redux及redux持久化示例详解的详细内容,更多关于react redux持久化的资料请关注好代码网其它相关文章!


