搭建简单文件服务器
| IP | 环境 |
|---|---|
| 192.168.200.100 | VMware17 |
基于centos7.9搭建http文件服务器
安装httpd
[root@localhost ~]# yum install -y httpd
关闭防火墙以及selinux
[root@localhost ~]# systemctl stop firewalld;setenforce 0
文件/etc/httpd/conf/httpd.conf中的默认参数(自定义修改)
DocumentRoot "/var/www/html" #这一行指定了文档根目录
<Directory "/var/www">  #用于针对指定目录(在这里是/var/www)设置访问控制规则的开始标签。以下的配置将应用于/var/www目录及其子目录。
    AllowOverride None
    # Allow open access:
    Require all granted #表示允许所有人访问/var/www目录及其子目录,没有访问限制
</Directory>
Listen 80 #默认的监听端口,修改80后则需要指定IP:端口进行访问
注释/etc/httpd/conf.d/welcome.conf文件下的此内容,不然就会返回禁止访问报错
#<LocationMatch "^/+$">
# Options -Indexes
# ErrorDocument 403 /.noindex.html
#</LocationMatch>
文件服务器下创建测试文件
[root@localhost ~]# echo hello > /var/www/html/test.txt
启动httpd并设置开机自启
[root@localhost ~]# systemctl enable --now httpd
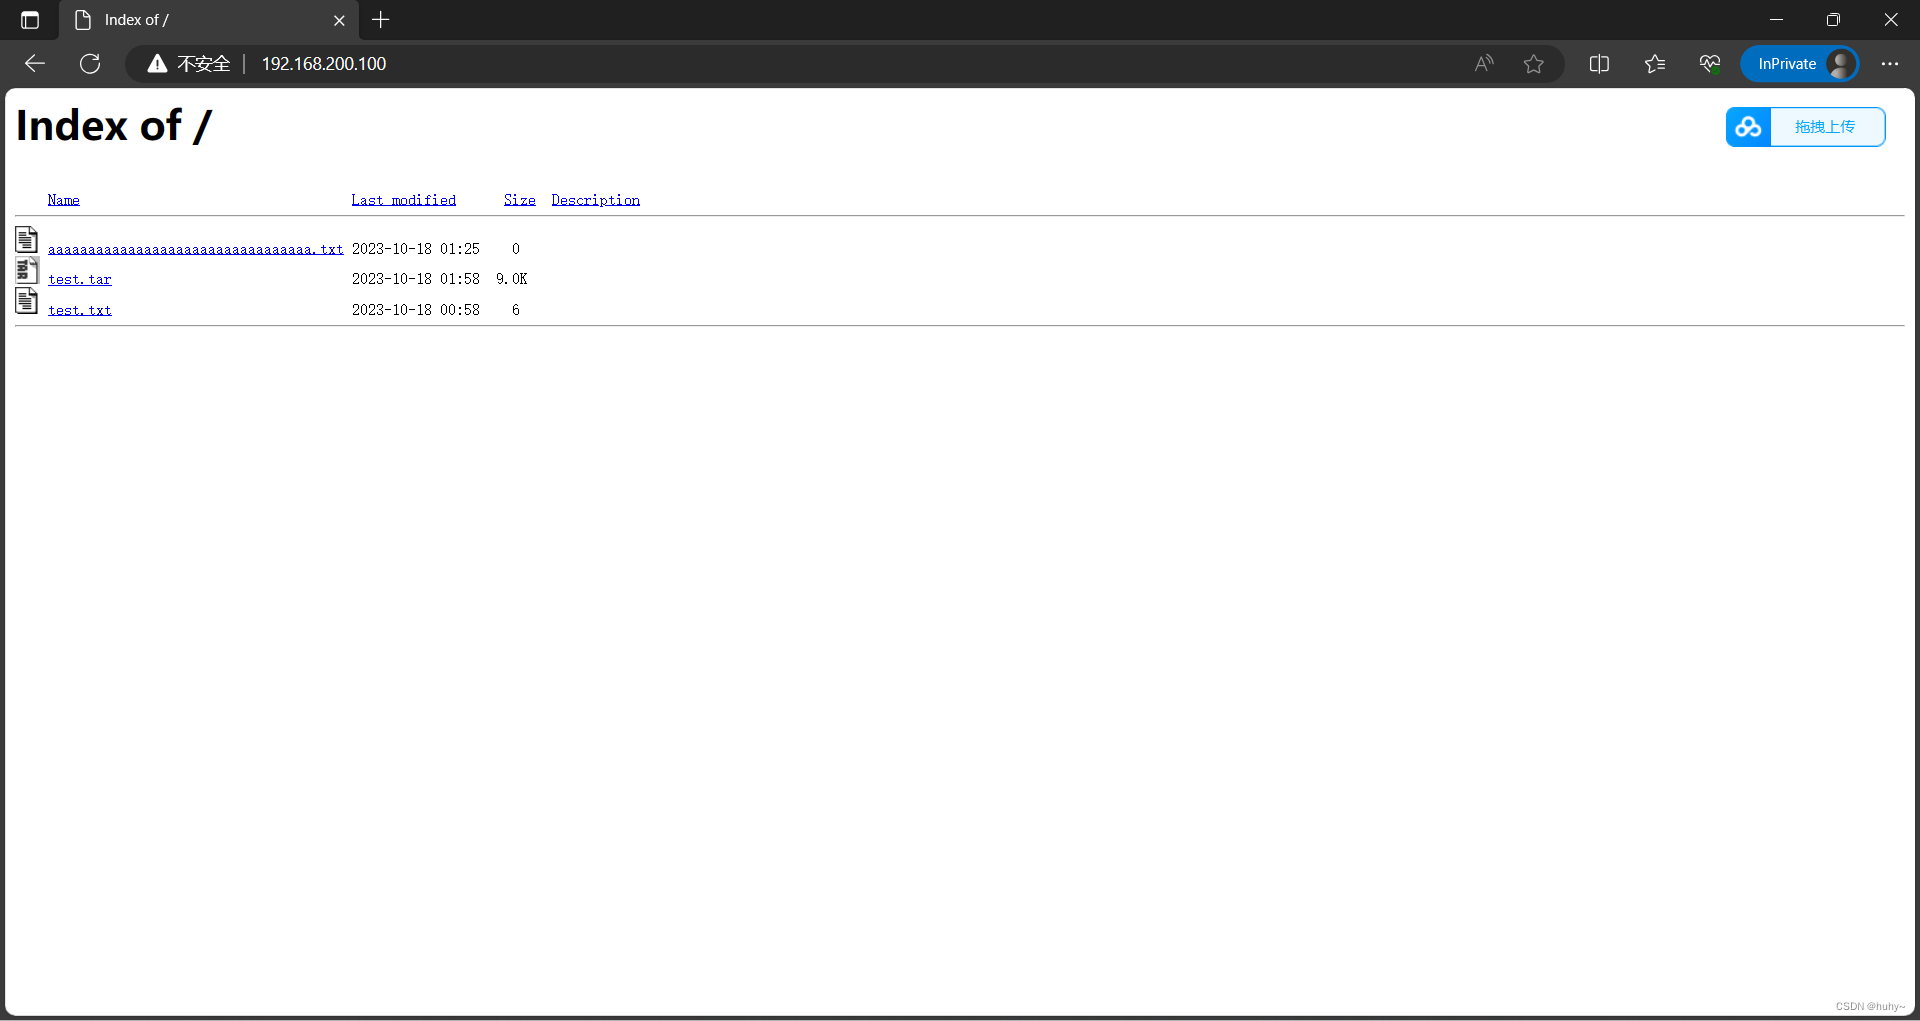
访问界面如下
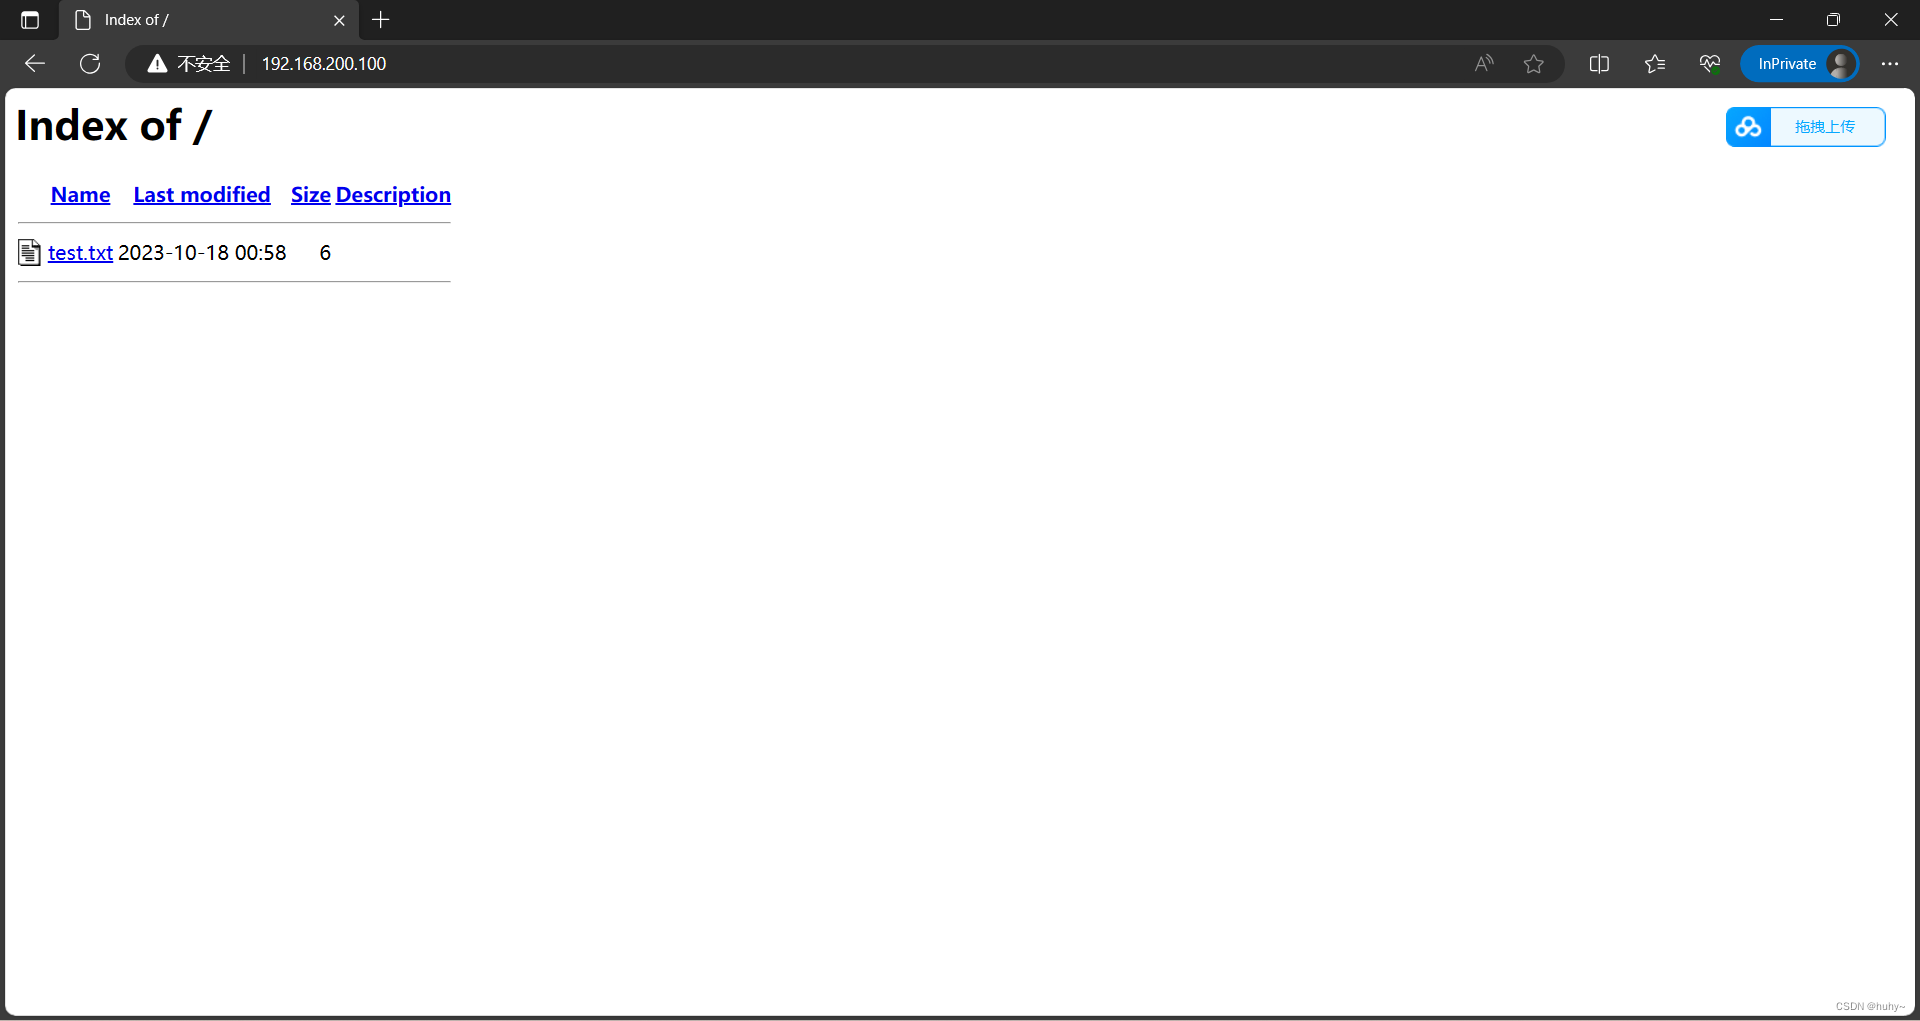
此时的文件服务器还不能下载,点击后会打开该文件

编辑http.conf文件,追加以下内容
<FilesMatch "\.(?i:pdf|zip|txt|csv)$">
    Header set Content-Disposition "attachment"
</FilesMatch>

当有人请求以 .pdf、.zip、.txt 或 .csv 结尾的文件时,服务器会设置 Content-Disposition 标头,强制
将文件作为附件下载,而不是在浏览器中直接打开,如果还要添加例如tar、gz等文件后缀可以下载,
则需要在括号内添加(?i:pdf|zip|txt|csv|gz|tar)相应的后缀
[root@localhost ~]# systemctl restart httpd
此时重新打开无痕模式浏览器,或者清除缓存再次打开
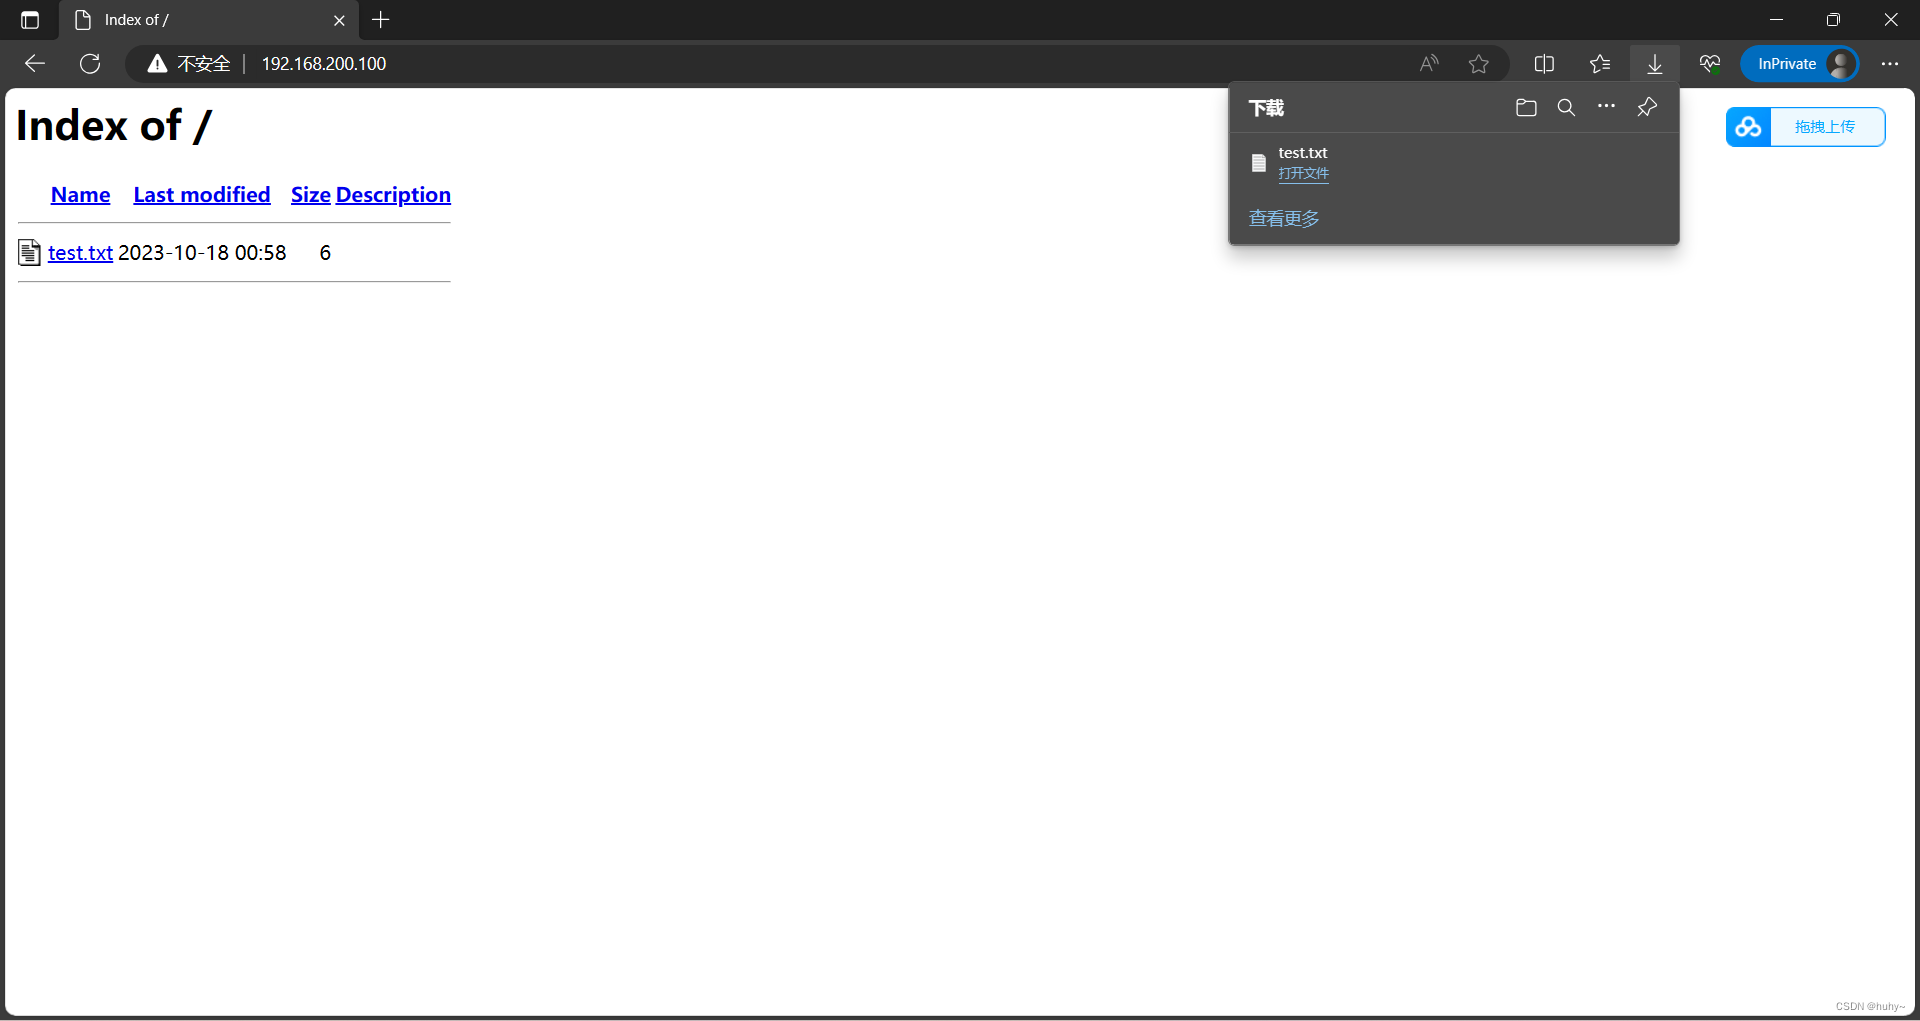
完善文件服务器的浏览器界面,在http.conf的Directory标签中添加
Options +Indexes:启用目录索引,允许显示目录内容。
IndexOptions FancyIndexing:启用美化的目录索引,以改善目录内容的可读性。
IndexOptions NameWidth=:允许文件名列宽度自动调整以适应不同文件名的长度。
IndexOptions DescriptionWidth=:允许描述列宽度自动调整以适应不同文件描述的长度。
IndexOptions FoldersFirst:将文件夹显示在文件之前,以提高目录索引的可读性。
<Directory /var/www>
    AllowOverride None
    # Allow open access:
    Require all granted
    #以下为添加内容
    Options +Indexes
    IndexOptions FancyIndexing NameWidth=* DescriptionWidth=* FoldersFirst
</Directory>
[root@localhost ~]# systemctl restart httpd
基于centos7.9搭建nginx文件服务器
安装wget命令,需要拉取阿里源的epel源,再下载nginx
[root@localhost ~]# yum install -y wget
[root@localhost ~]# wget -O /etc/yum.repos.d/epel.repo https://mirrors.aliyun.com/repo/epel-7.repo
[root@localhost ~]# yum install -y nginx
[root@localhost ~]# yum info nginx
Loaded plugins: fastestmirror
Loading mirror speeds from cached hostfile
 * base: mirrors.cqu.edu.cn
 * extras: mirrors.cqu.edu.cn
 * updates: mirrors.cqu.edu.cn
Installed Packages
Name        : nginx
Arch        : x86_64
Epoch       : 1
Version     : 1.20.1
Release     : 10.el7
Size        : 1.7 M
Repo        : installed
From repo   : epel
Summary     : A high performance web server and reverse proxy server
URL         : https://nginx.org
License     : BSD
Description : Nginx is a web server and a reverse proxy server for HTTP, SMTP, POP3 and
            : IMAP protocols, with a strong focus on high concurrency, performance and low
            : memory usage.
修改nginx.conf文件
[root@localhost ~]# vi /etc/nginx/nginx.conf
user nginx; #nginx改为root
#在server配置标签上添加以下内容
    autoindex on;# 显示目录
    autoindex_exact_size on;# 显示文件大小
    autoindex_localtime on;# 显示文件时间
        root         /opt;   #/opt表示你要共享的文件服务器根目录
启动nginx,并开机自启
[root@localhost ~]# systemctl enable --now nginx
Created symlink from /etc/systemd/system/multi-user.target.wants/nginx.service to /usr/lib/systemd/system/nginx.service.
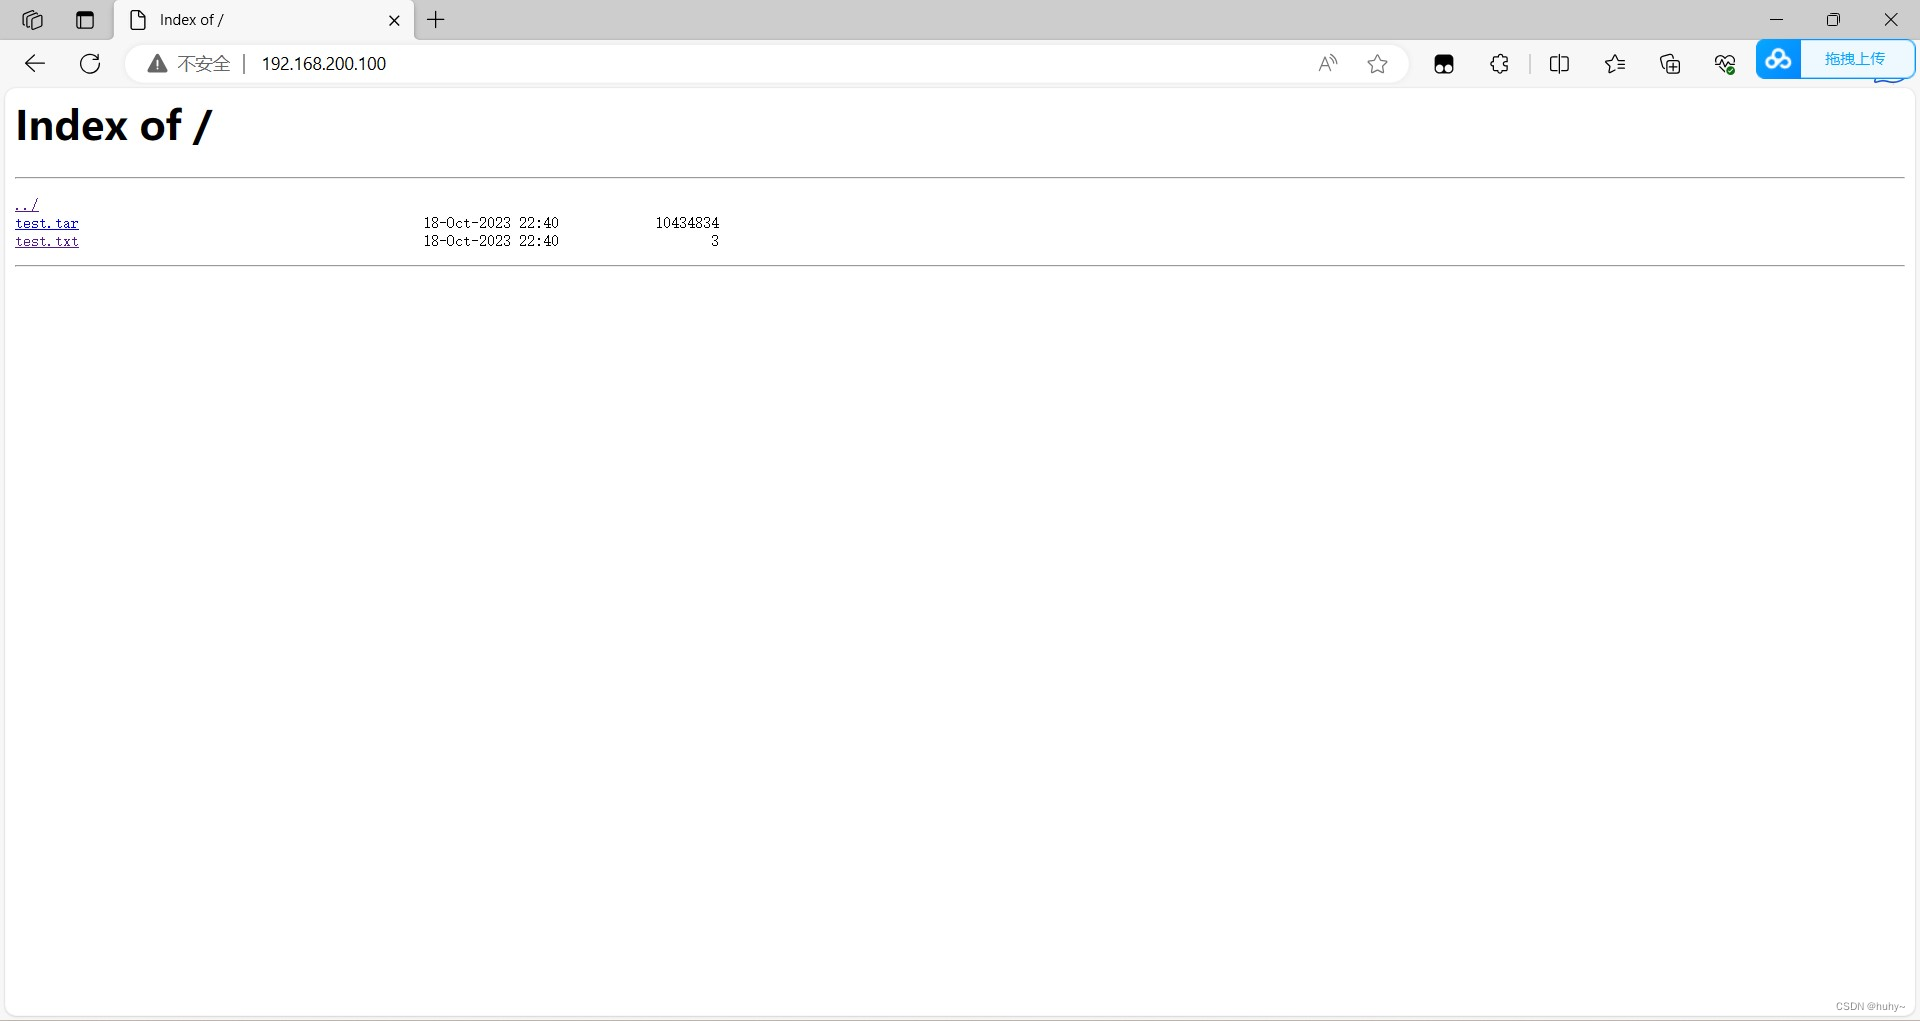
浏览器IP访问,如果要指定端口,修改Linsten后面的80即可
基于ubuntu2204搭建http文件服务器
| IP | 环境 |
|---|---|
| 192.168.200.200 | VMware17 |
安装apache2
root@huhy:~# apt install -y apache2
root@huhy:~# mkdir /var/www/html/test-file
root@huhy:~# chmod 777 /var/www/html/test-file/
root@huhy:~# echo ok > /var/www/html/test-file/test.txt
root@huhy:~# vi /etc/apache2/sites-available/000-default.conf
DocumentRoot /var/www/html/test-file #修改此参数,就可以指向该文件夹
root@huhy:~# systemctl enable --now apache2
Synchronizing state of apache2.service with SysV service script with /lib/systemd/systemd-sysv-install.
Executing: /lib/systemd/systemd-sysv-install enable apache2
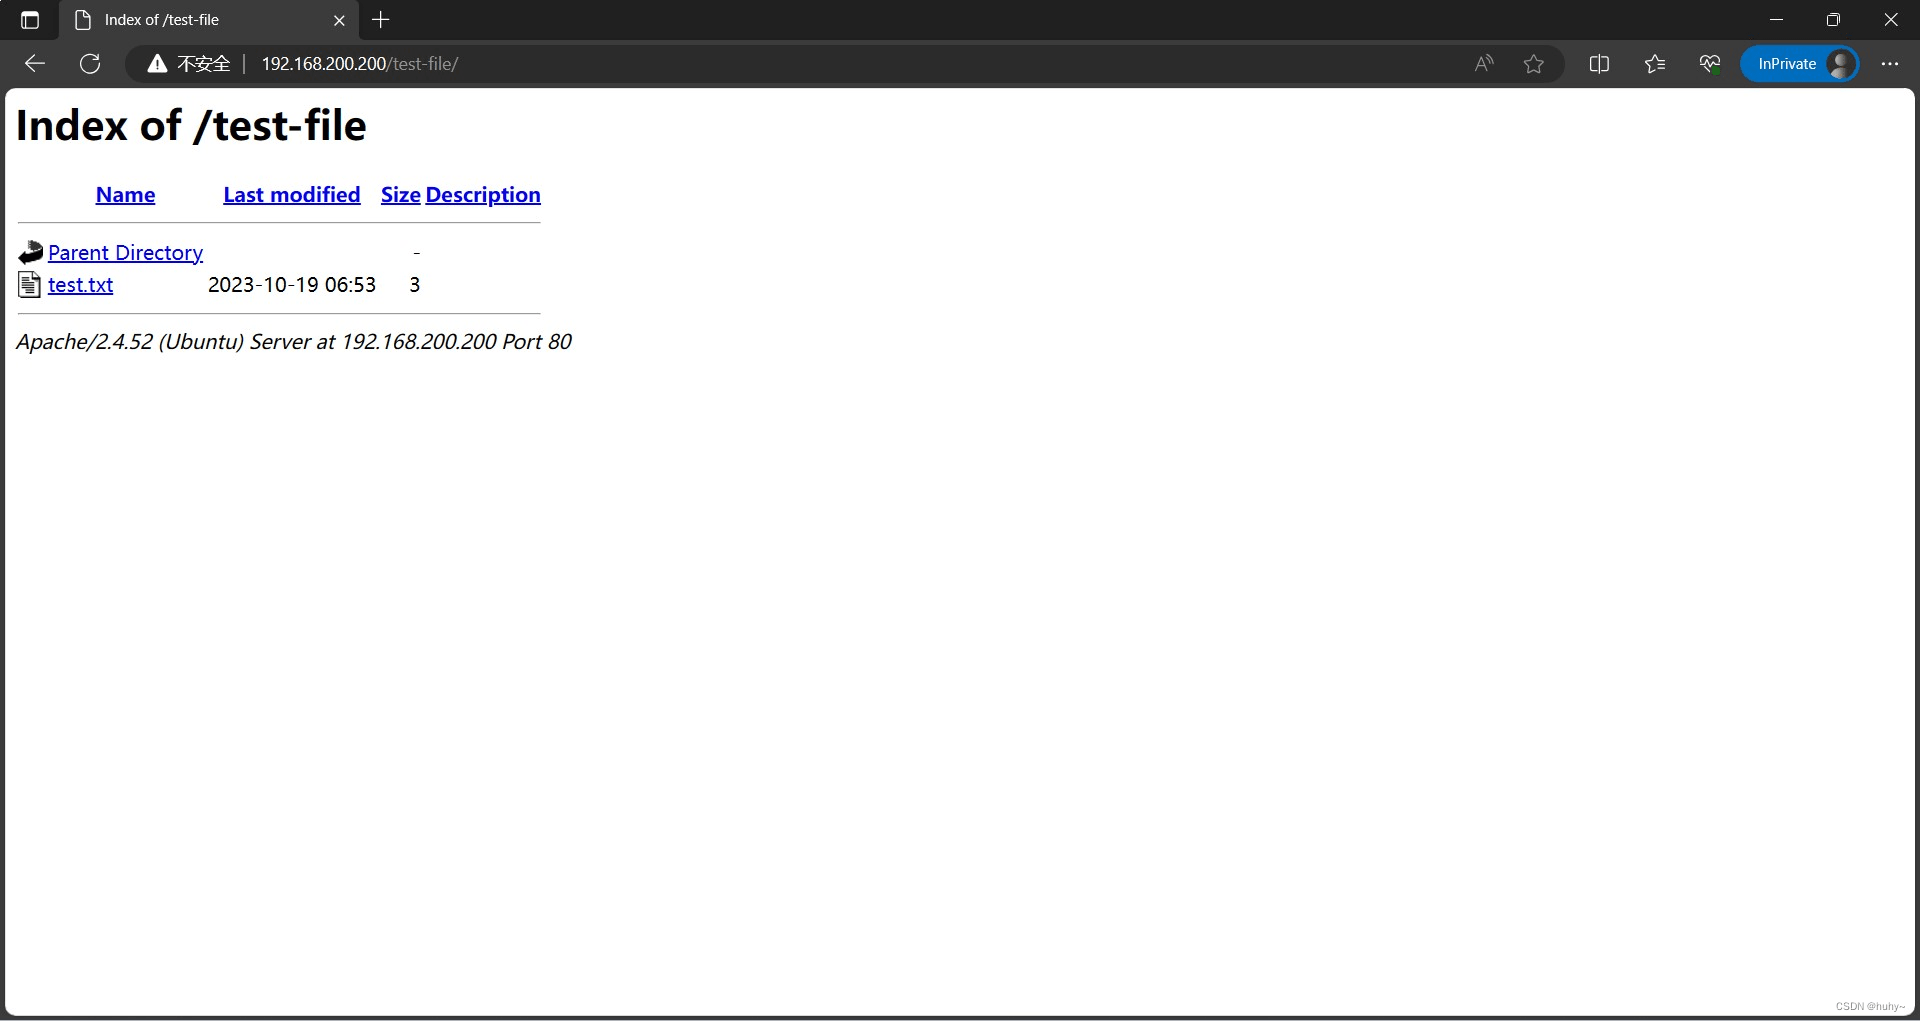
浏览器IP访问
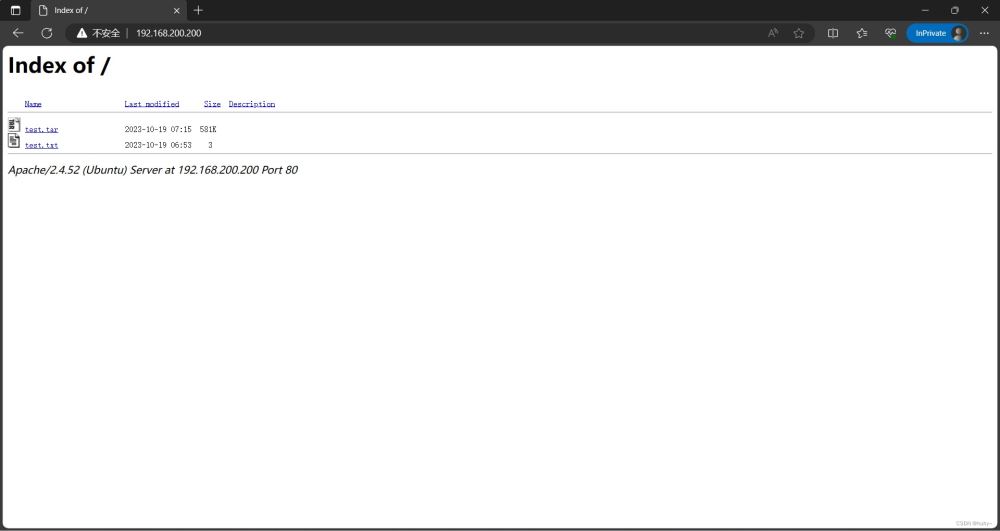
优化界面
root@huhy:~# vi /etc/apache2/apache2.conf
<Directory /var/www/> #对此目录下生效
        Options Indexes FollowSymLinks
        AllowOverride None
        Require all granted #添加下面两行
        Options +Indexes
        IndexOptions FancyIndexing NameWidth=* DescriptionWidth=* FoldersFirst
</Directory>
再次访问
总的来说ubuntu搭建更加简单一些,做的配置也不多
到此这篇关于Linux搭建文件服务器的文章就介绍到这了,更多相关Linux文件服务器搭建内容请搜索好代码网以前的文章或继续浏览下面的相关文章希望大家以后多多支持好代码网!


