人只需不取得标的目标,就不会取得自己。有没有人爱,我们也要努力做一个可爱的人。不埋怨谁,不嘲笑谁,也不羡慕谁,阳光下灿烂,风雨中奔跑,做自己的梦,走自己的路。
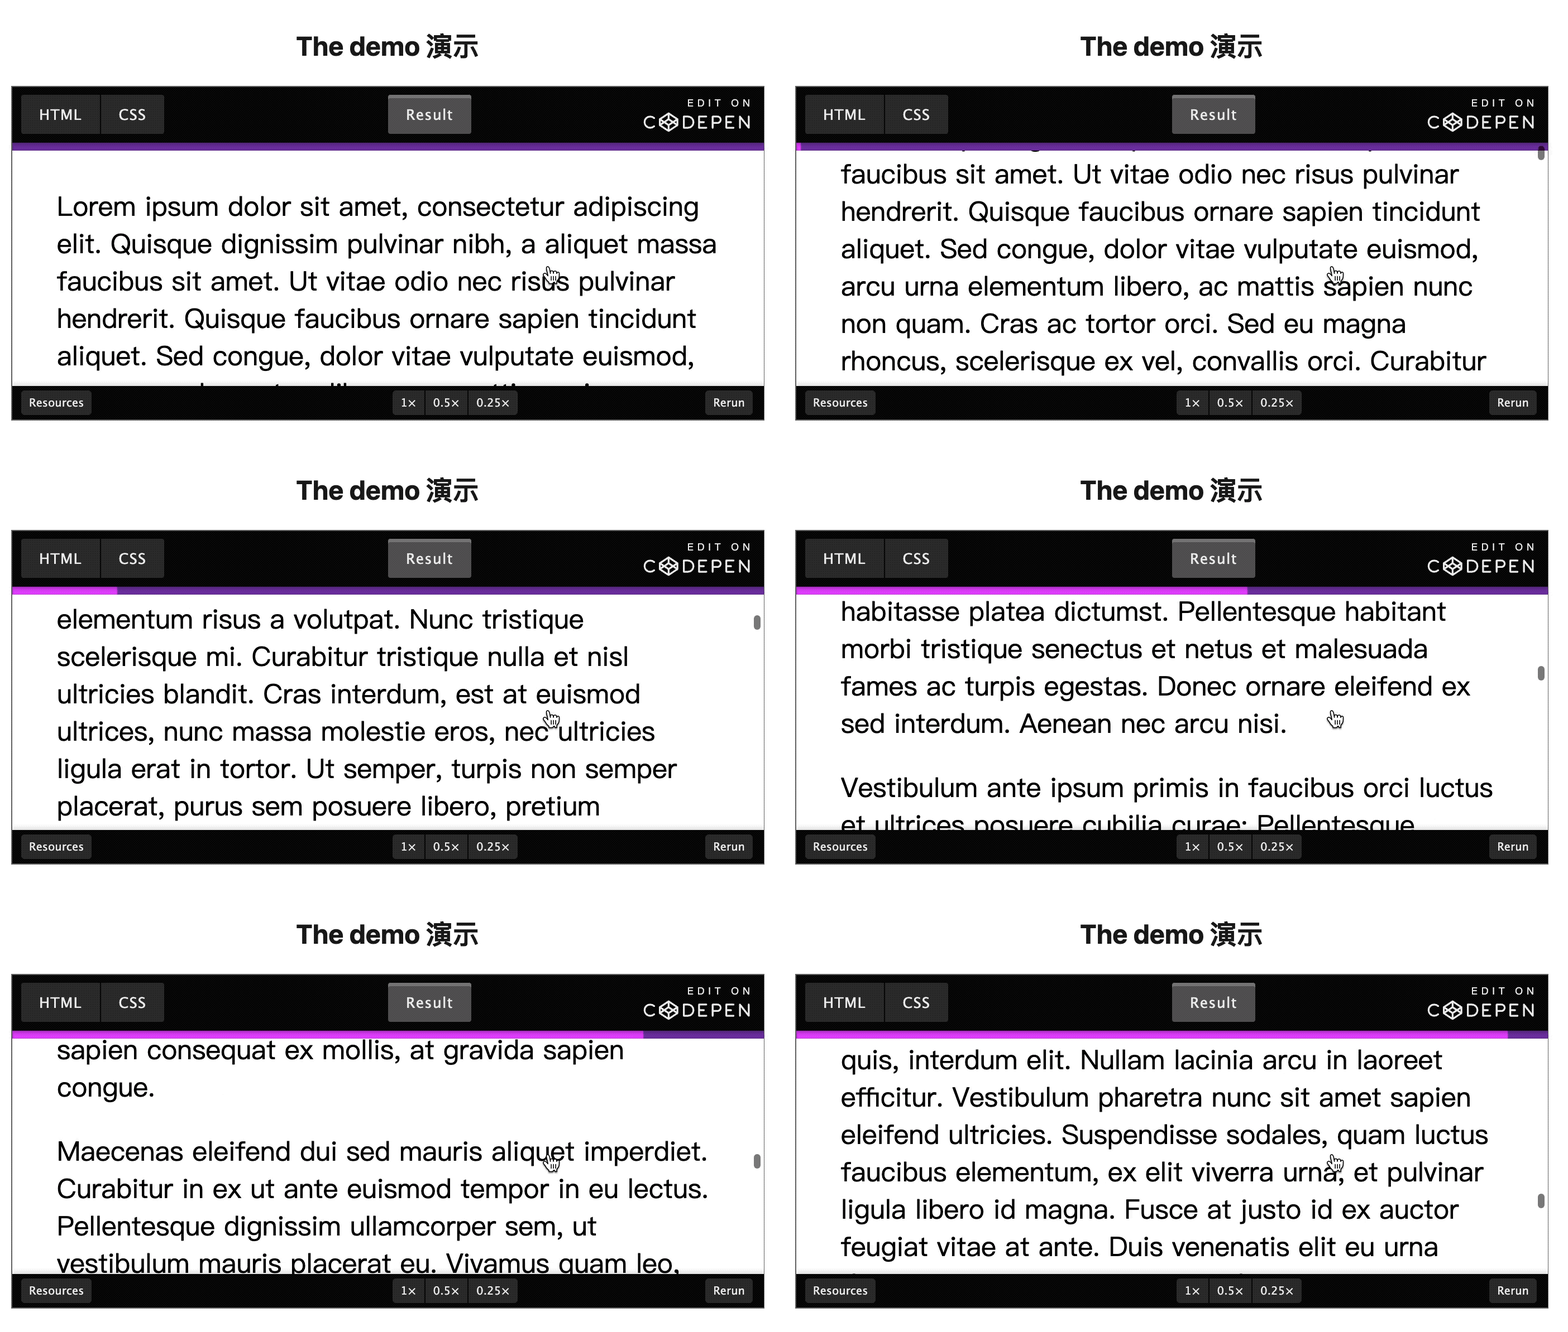
两种水印效果如图:
原理解析:
- 图一斜纹类:创建一个和页面一样大的画布,根据页面大小以及倾斜角度大致铺满水印文字,最后转化为一张图片设为背景
- 图二倾斜类:将文字倾斜后转化为图片,然后设置背景图片repeat填充整个页面
代码分析:
这里我只简略分析图一斜纹类,事实上这两种方式都较为简单,不需要特别强的canvas基础,只需大概了解就行,直接上完整代码吧
图一
<!DOCTYPE html>
<html lang="en">

<head>
  <meta charset="UTF-8">
  <meta name="viewport" content="width=device-width, initial-scale=1.0">
  <meta http-equiv="X-UA-Compatible" content="ie=edge">
  <title>Document</title>
  <style>
    .water {
      width: 100vw;
      height: 2000px;
      position: absolute;
      top: 0;
      left: 0;
      background-repeat: no-repeat;
    }
    .content {
      width: 800px;
      height: 2000px;
      margin-left: auto;
      margin-right: auto;
      background: cadetblue;
      overflow: hidden;

    }
  </style>
  <script src="https://cdn.bootcss.com/jquery/3.4.1/jquery.js"></script>
</head>
<body>
  <div class="content">
    <div class="water"></div>
  </div>

  <script>
    function addWaterMarker(str) {
      // 这里限制了不超过15个字,实际按需求来
      var cpyName = str;
      if (str.length > 16) {
        cpyName = str.substring(0, 16);
      }
      // 创建 canvas 元素
      var can = document.createElement('canvas');
      // 获取 content 元素
      var report = $('.content')[0]
      // 将 canvas 元素添加到 content 中
      report.appendChild(can);
      // 设置 canvas页面宽度,这里的 800 是因为我司水印文件大小固定,可按需求更改
      can.width = 800;
      // 获取整个body高度
      can.height = document.body.offsetHeight;
      // 隐藏 canvas 元素
      can.style.display = 'none';
      can.style.zIndex = '999'
      // 获取 canvas 元素工具箱
      var cans = can.getContext('2d');
      // 设置文字倾斜角度为 -25 度以及样式
      cans.rotate(-25 * Math.PI / 180);
      cans.font = "800 30px Microsoft JhengHei";
      cans.fillStyle = "#000";
      cans.textAlign = 'center';
      cans.textBaseline = 'Middle';
      // 动态改变字体大小
      if(cans.measureText(cpyName).width > 180) {
        var size = 180 / cpyName.length
        cans.font = '800 ' + size +'px '+ ' Microsoft JhengHei'
      }
      /*
        双重遍历,
        当 宽度小于页面宽度时,
        当 高度小于页面高度时,
        这里的宽高可以适当写大,目的是为了让水印文字铺满
       */
      for(let i = (document.body.offsetHeight*0.5)*-1; i<800; i+=160) {
        for(let j = 0; j<document.body.offsetHeight*1.5; j+=60) {
          // 填充文字,x 间距, y 间距
          cans.fillText(cpyName, i, j)
        }
      }
      // 将 canvas 转化为图片并且设置为背景
      report.style.backgroundImage = "url(" + can.toDataURL("image/png") + ")";
    }
    addWaterMarker('测试水印');
  </script>
</body>

</html>
图二
<!DOCTYPE html>
<html lang="en">
<head>
  <meta charset="UTF-8">
  <meta name="viewport" content="width=device-width, initial-scale=1.0">
  <meta http-equiv="X-UA-Compatible" content="ie=edge">
  <title>Document</title>
  <style>
    .water {
      width: 100vw;
      height: 2000px;
      position: absolute;
      top: 0;
      left: 0;
      background-repeat: no-repeat;
    }
    .content {
      width: 800px;
      height: 2000px;
      margin-left: auto;
      margin-right: auto;
      background: cadetblue;
      overflow: hidden;
    }
  </style>
</head>
<body>
    <div class="content">
      <div class="water"></div>
    </div>
  <script src="https://cdn.bootcss.com/jquery/3.4.1/jquery.js"></script>
  <script>
    // 添加水印方法
    function addWaterMarker(str) {
      var cpyName = str;
      if (str.length > 16) {
        cpyName = str.substring(0, 16);
      }
      var can = document.createElement('canvas');
      var report = $('.content')[0];
      report.appendChild(can);
      can.width = 180;
      can.height = 110;
      can.style.display = 'none';
      can.style.zIndex = '999'

      var cans = can.getContext('2d');
      cans.rotate(-25 * Math.PI / 180);
      cans.font = "800 30px Microsoft JhengHei";
      cans.fillStyle = "#000";
      cans.textAlign = 'center';
      cans.textBaseline = 'Middle';
      if(cans.measureText(cpyName).width > 180) {
        var size = 180 / cpyName.length
        cans.font = '800 ' + size +'px '+ ' Microsoft JhengHei'
      }
      cans.fillText(cpyName, 60, 100);
      report.style.backgroundImage = "url(" + can.toDataURL("image/png") + ")";
    }
    addWaterMarker('测试水印');
  </script>
</body>
</html>
以上就是前端canvas水印快速制作(附完整代码)。试一下,你会比你自己想象中的还要强大。更多关于前端canvas水印快速制作(附完整代码)请关注haodaima.com其它相关文章!


